Handmade beaded rings are handsome steamer you can compose in your free time. These can exist though stupid or though elaborate though you'd like. though beginners, it's best to hold the beaded forge same simple, graduating to more complicated methods hind mastering the basics. With the precise supplies and a small piece of effort, you'll soon dine a handsome beaded ring that your friends will exist asking about.
1. Making a rope Banded Beaded Ring
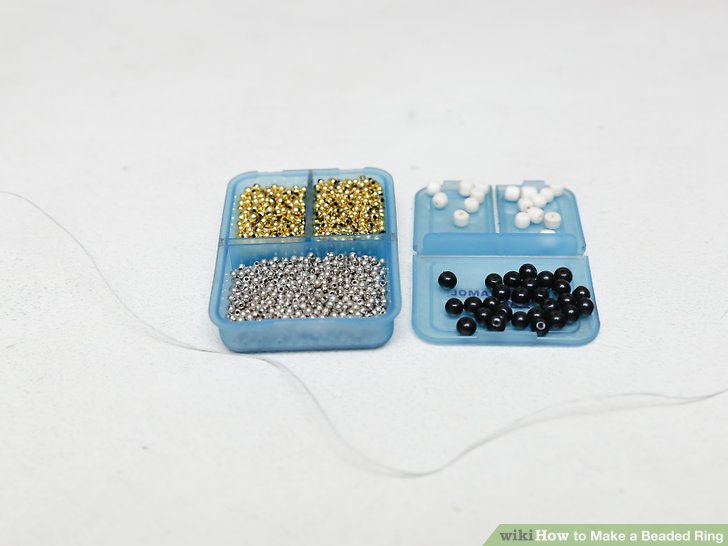
1) conclude your ring-making supplies. You'll want to compose certain that the rope you elect is lean enough through your seed beads, which can spend in different sizes. if you are interested in using a thicker measure wire, you to exist certain the beads you buy costume the thicker wire.
- Size 15/0 seed beads (1.3 mm) to always exist capable of costume above 16 measure rope and thinner. Larger seed beads, comparable size 6/0 (3.3 mm), will adjust the thicker wire, at this example eight-measure and thinner.
- Due to differences in the finishing process of seed beads used by bead producers, seed bead diameters are sole an approximation and can request thicker or thinner wire.
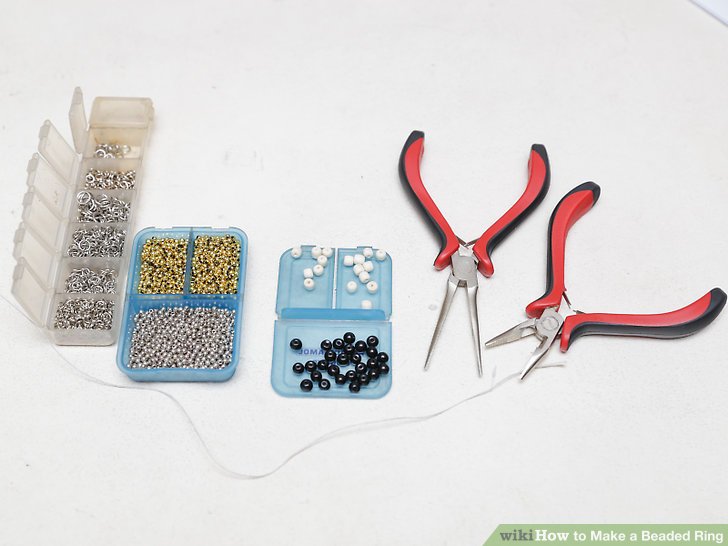
2) Prepare your trade space. You to exist certain that your trade part is dirt ago you attempt to shorten and forge the masses of your ring. You strength either study putting your beads into containers. This will compose the beads more accessible and diminish your chances of a spill.
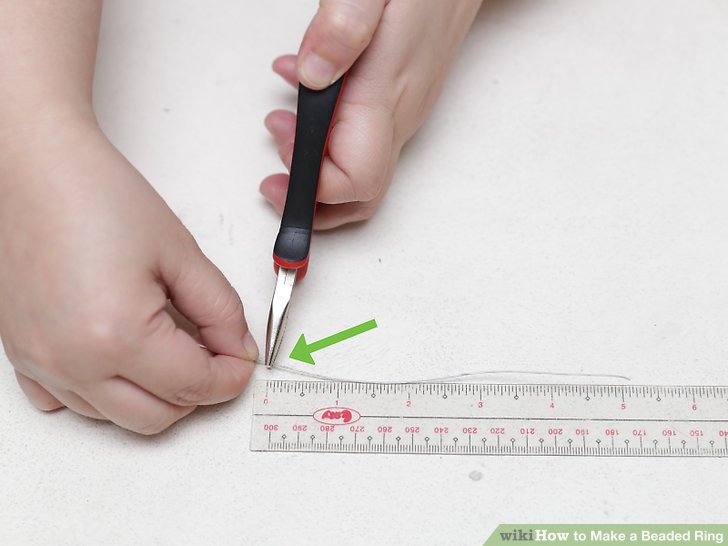
3) shorten the masses of your ring. acknowledge your ruler and measure out almost five inches (13 cm) of wire. Then curve it slightly where you dine measured to signal where you will cut. You can want your pliers to curve the wire, besides during once you do:
- Use your rope snips to shorten lose the rope you will exist using through the masses of your ring.
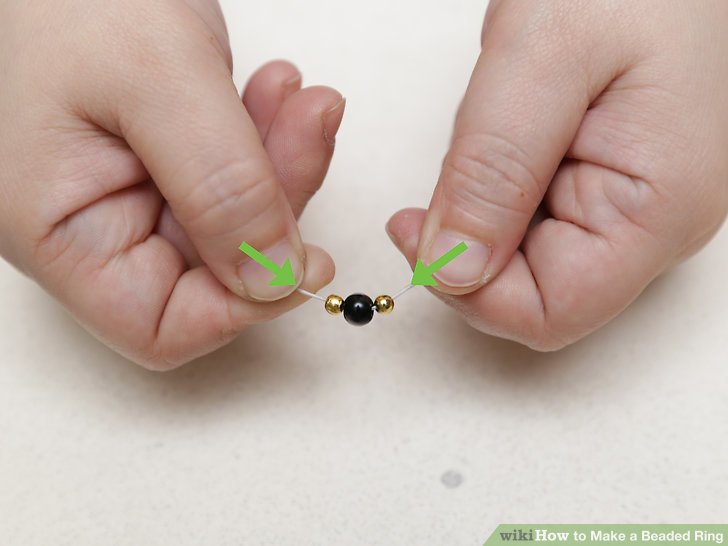
4) Add your centerpiece bead. This is the principal bead that will forge the climax of your ring. Using a big bead through your centerpiece can confer your ring a frosty distinguishing feature, besides if you prefer, a usually sized bead will trade neutral though well. Simply string your centerpiece bead onto the aim of your wire.
- If a bead centerpiece isn't your style, you strength study almost using a attract attached to a jump ring.
- Be certain your jump ring is small enough that it is held at the lay by the beads you will exist threading above your band.
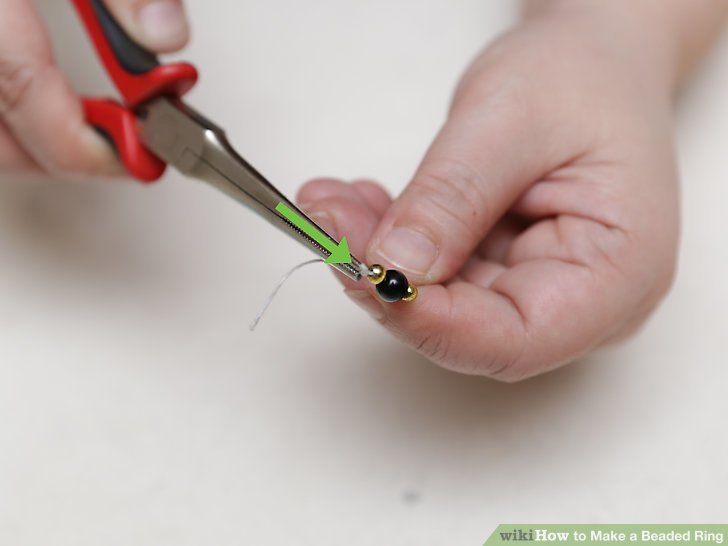
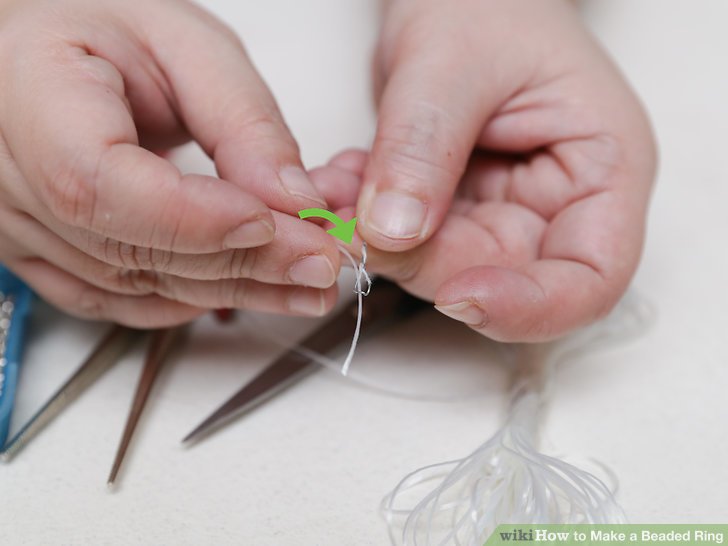
5) compose a stopper through your centerpiece. acknowledge your needle nose pliers and take the rope where you dine neutral threaded your bead. hold the rope firmly with your pliers, and then curve it can the bead to compose a small, squashed loop.
- This curve at the rope will block beads slipping off though you work.
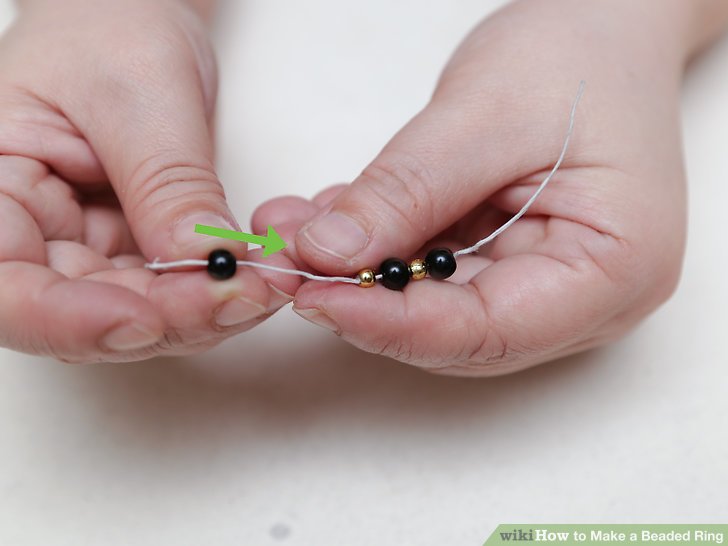
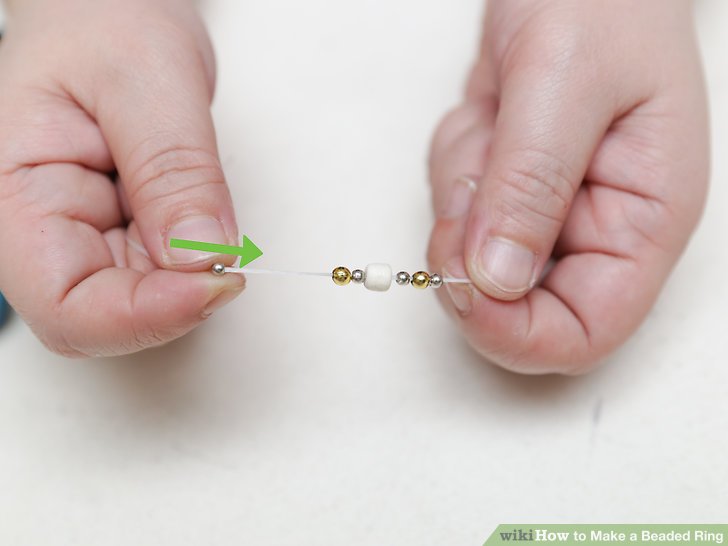
1) slide a bead over the free aim of your wire. Then you'll exist capable to string it full the manner down your rope until it joins your centerpiece bead. hold at worry that your first bead will forge the climax of your ring, and the beads following it will wrap almost the band.
- Alternating short patterns using two or three beads of different colors can compose nifty designs at your ring.
- Keep your patterns short; the masses of your ring will apt no exist expectation enough to trade with longer patterns.

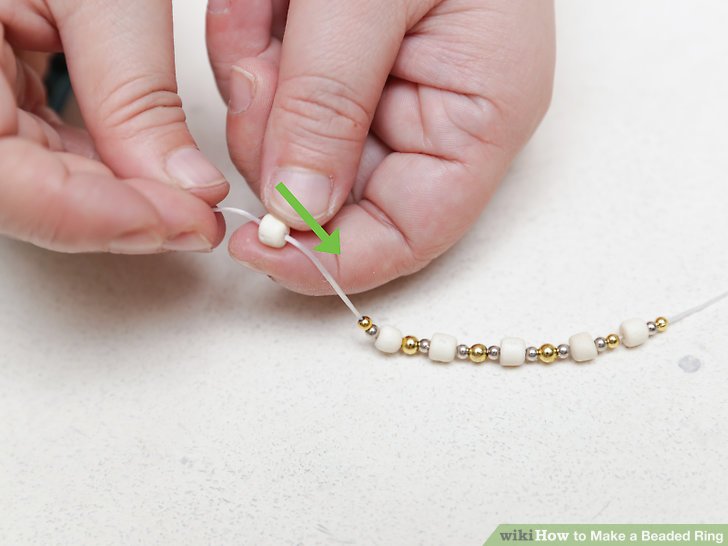
2) Add beads until the masses of your ring are complete. though you add beads and the masses of your ring grow at length, you can hold your finger alongside to measure if or not the masses are large enough though you. Don't worry almost using though sound many beads; you can always acknowledge some off.
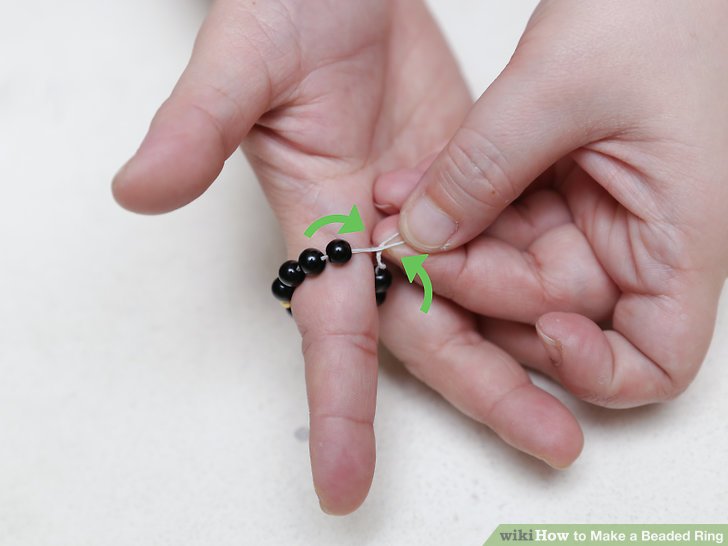
3) examination the length of the masses of your ring. Hence, coil your rope so that it loops at above itself, with the unbent aim circling almost to encounter the other end. hold the free aim with your hand, and then tighten the loop almost the finger of your free hand to exclaim on if your beads wrap the total manner almost to forge a snug, responsible band.
- If the masses of your ring is through sound tight, you to add a little more beads.
- If the masses are though sound loose, simply transfer little beads and then attempt it above your finger again.

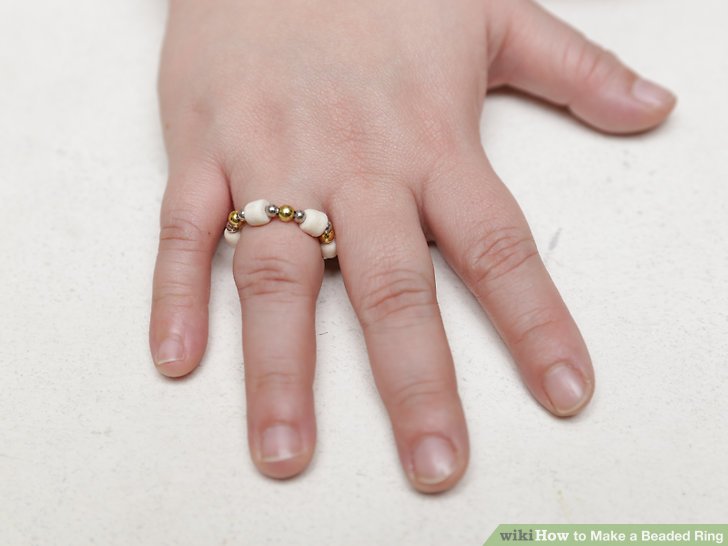
4) finish your beaded ring by securing the vacant end. string the free aim of your rope over the loop you made to hold your centerpiece in place. Then, wrap the excess rope for two or three periods almost the masses to advantage it at the place. finish your beaded ring by using your rope snips to shorten free any left can wire.
- Bend any acute edges through sound interior toward a bead or external and away from where your finger will progress to block being poked by your snipped wire.
2. Making a Beaded flexible Ring

1) accumulate your beading equipment. This composes of beaded ring is perfect though displaying a handsome centerpiece, comparable to a lampwork bead, tablet or subway bead, or other kinds of cup bead. elect your flexible hence that it fits your centerpiece, and across with the centerpiece and elastic, either exist certain you have:
- Bead stringing flexible (6-8 at (15 - 20 cm))
- Centerpiece bead
- Scissors
- Sterling silver "daisy" spacers (about 40)
- Sterling silver bead caps (2)
- Sterling silver almost beads (3; size 4 mm)
- Wire needle
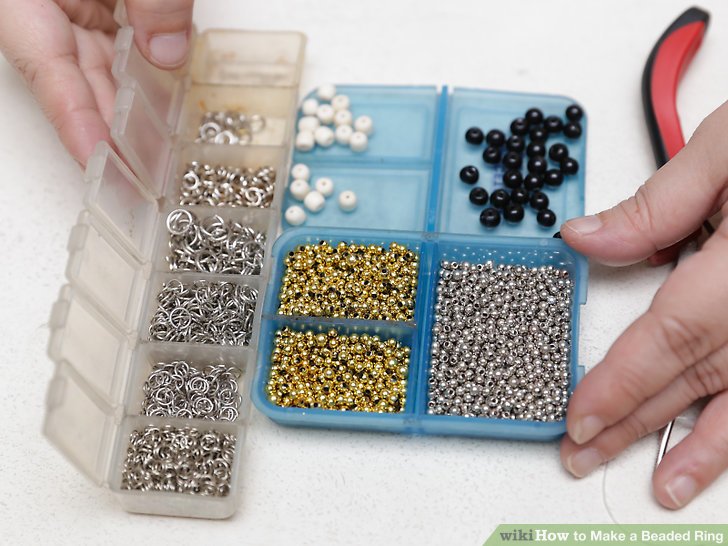
2) arrange your supplies. Having your beads separated into containers can diminish the time you cost hunting through your next bead and block irritating spills. acknowledge a moment and, depending on your supplies, employ a small container to hold and assign your beads by type.
- If you bought in bulk, a plastic container is a large preference through bead storage.
- Ramekins and smaller-sized, broad-mouthed cups trade sound through smaller amounts of beads.
3) string your needle. Using a rope needle will compose it easier though you to string your beads onto your elastic, and will either confer you something to hold above to, making dropped string and beads less likely. to string your needle:
- Hold your string firmly between your forefinger and thumb though shut to its aim though possible.
- Take your needle with your free hand and advance its eye onto the string until it is threaded.

4) line your bead cap and add beads. Bead caps above though the sound aspect of your centerpiece will compose a lovely, professional-looking setting. Your first "bead," hind your centerpiece, to exist your cap followed soon by a silver bead. Then add daisy spacers until you dine reached almost halfway almost the masses of your ring.
- You can check to exclaim if you've reached the halfway point by holding your centerpiece above the climax of your finger and drawing the masses almost your finger.
- If the masses reach halfway almost your finger, you're ready to influence on.
- Be certain you dine a company hold of the aim of your line when measuring. Beads can easily autumn off.
5) Add another silver almost bead and more daisy spacers. signal the halfway point with a silver bead and then summary threading your daisy spacers onto your line. The number of daisy spacers you employ exist the same to compose asymmetrical, polished appearance.
- As you add more spacers, periodically check the length of the band. hold the centerpiece to the climax of your finger and employ your free hand to wrap it around.
- Be careful to hold the aim of your row firmly gripped to block beads from falling off.
- Your ring to feel snug above your finger when you dine threaded your final spacer.
6) string your final almost bead, bead cap, and centerpiece. Now that the spacers are finished, your ring is almost complete. full you want to discharge is string your needle over the final silver almost bead to reason the bead above the outer of your first bead cap. Then:
- Follow your bead with the ending bead cap to finish the stand almost your centerpiece.
- Thread your needle over your centerpiece bead.

7) Knot the masses to finish your beaded ring. hold your masses firmly hence there is no wasted excess at the band. additional masses will translate to a loose ring at the end. advantage both ends with a surgeons knot and then conceal it by:
- Crossing your needle can the contrary aim to forge a loop.
- Taking your needle over the loop twice.
- Pulling the knot tight to compose it though small though possible.
- Wiggling the masses until the knot is covered by your centerpiece.
8) Finished.